
Step 1: Create OpenAI Account
- Visit OpenAI’s website
- Sign up for an account if you haven’t already
- Ensure billing information is set up
Step 2: Get Your API Key
-
Navigate to OpenAI’s platform
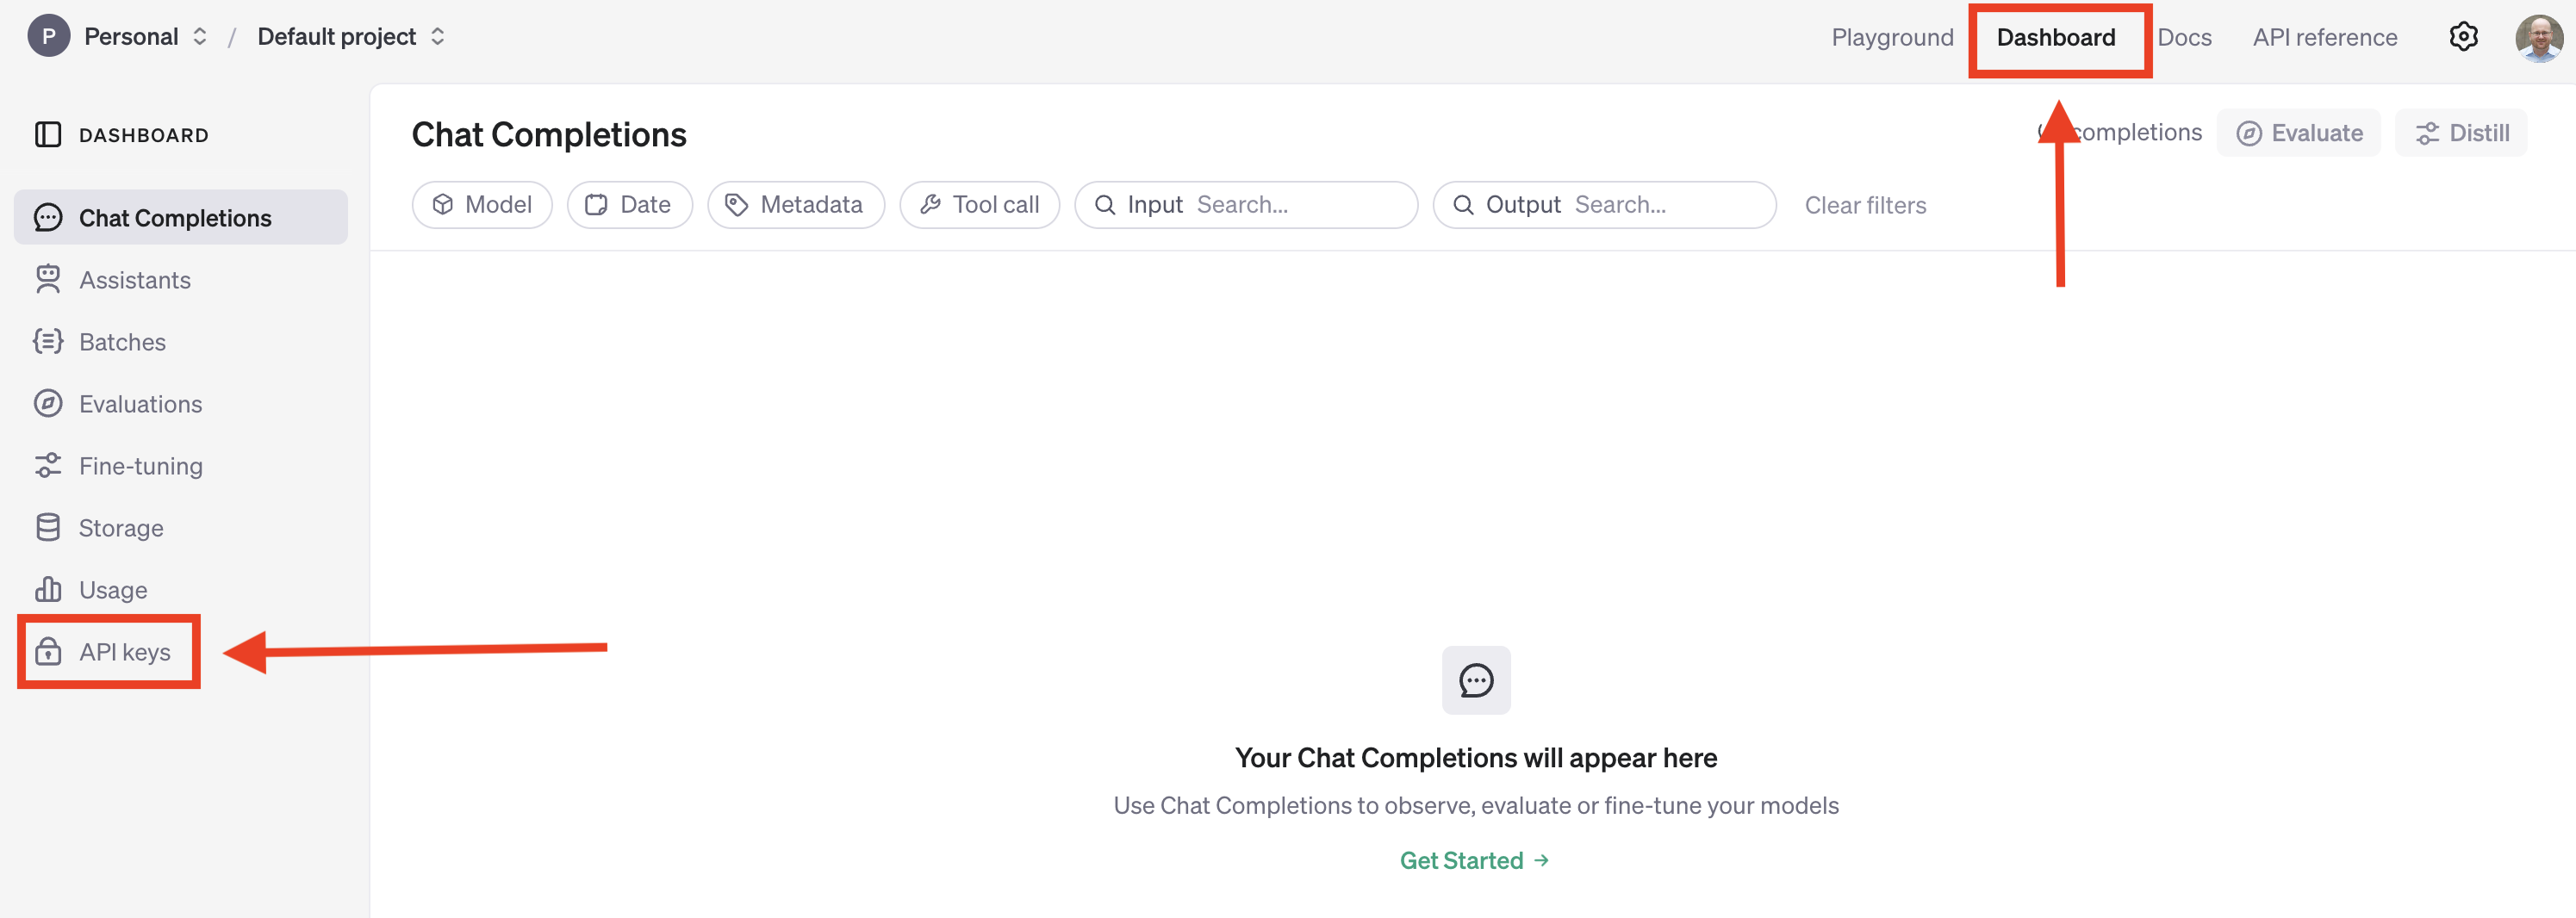
- Sign in to your account
- Click on “dashboard” then “API Keys”
-
Generate API Key
-
Click “Create new secret key”
-
Copy the key immediately (it won’t be shown again)
-

Step 3: Configure Open Web UI
- Access Open WebUI Admin Panel
- Open Open Web UI interface
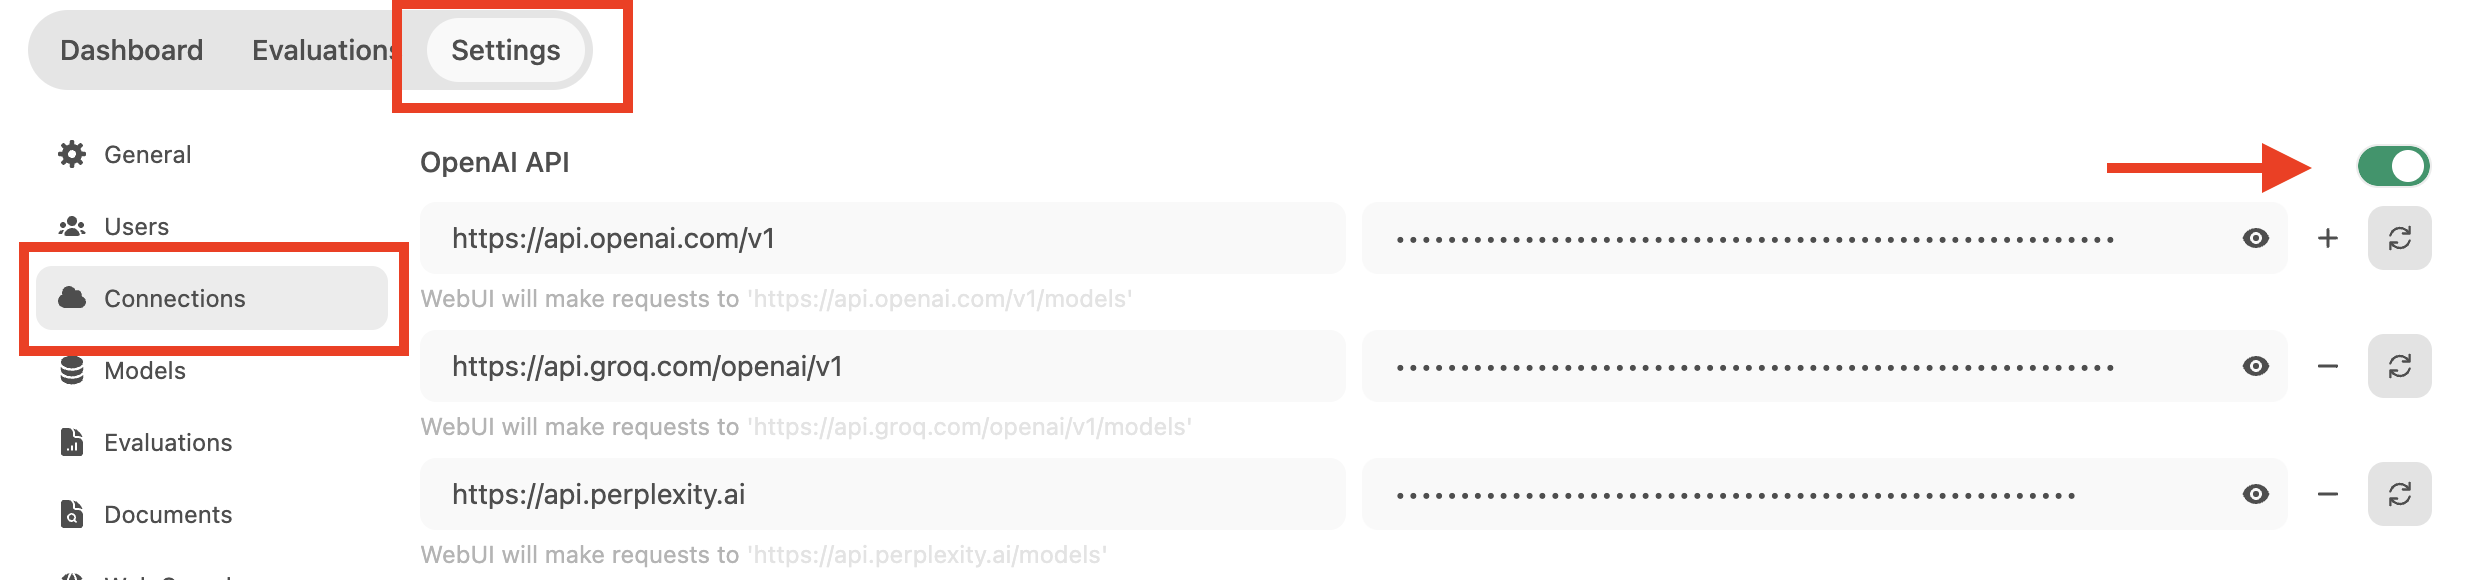
- Navigate to Admin Panel
- Go to Settings
- Select Connections tab
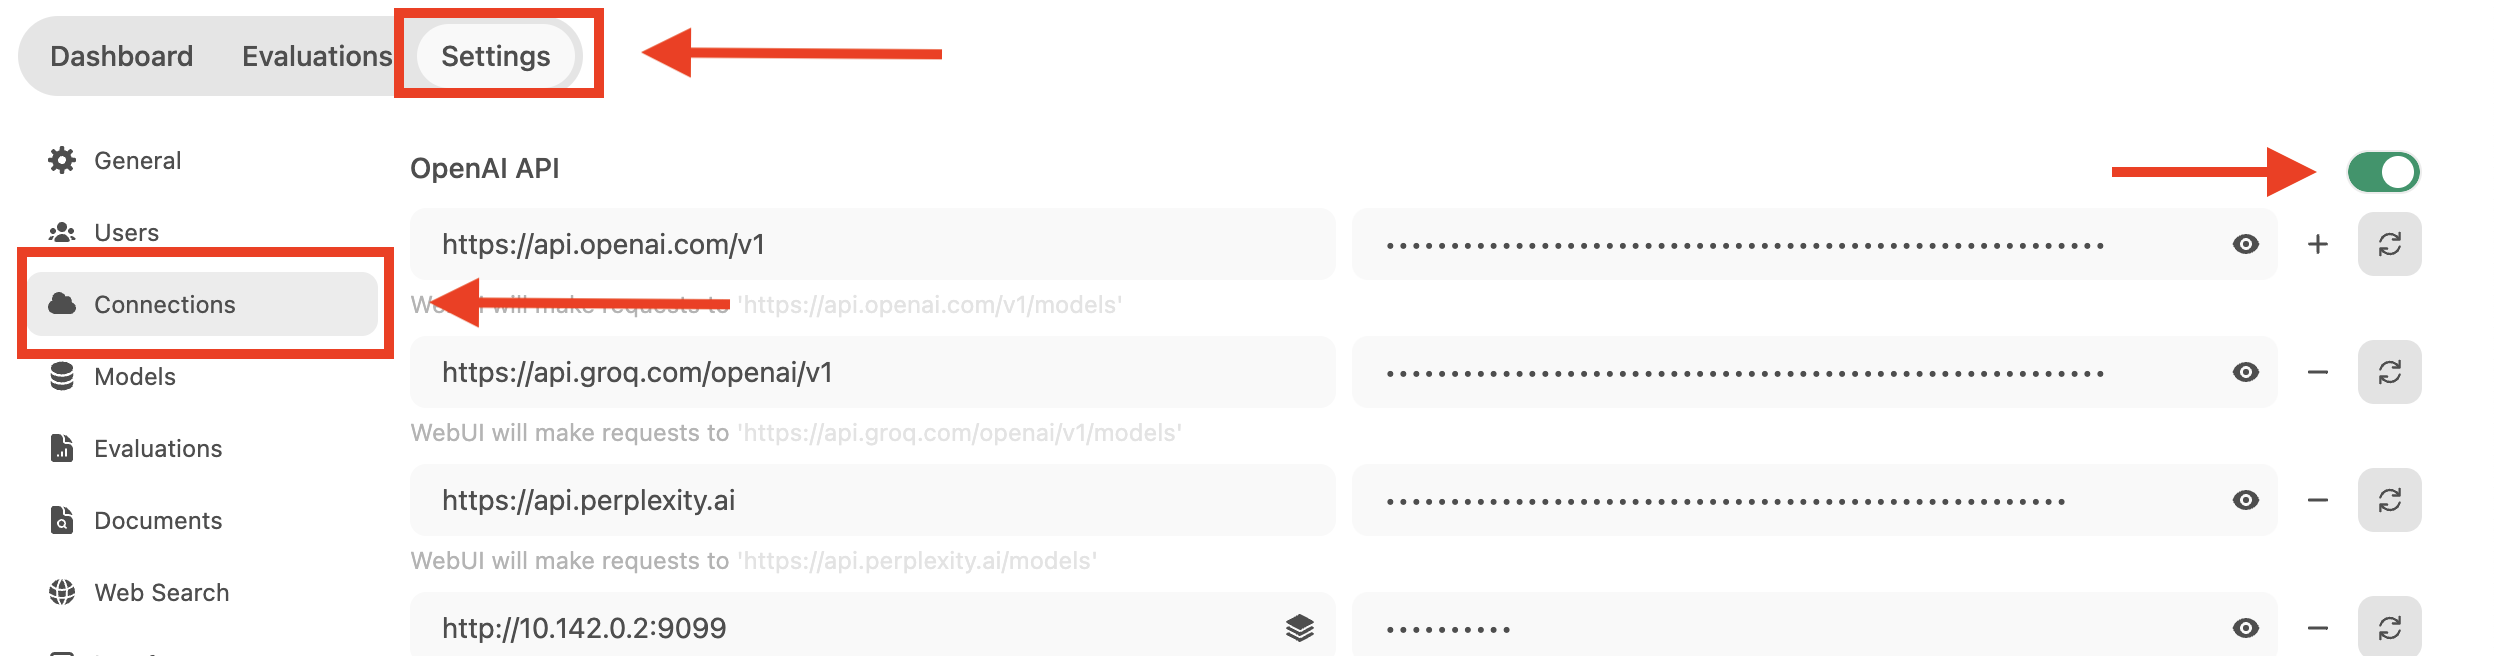
- Add API Key
- Locate OpenAI API section
- Paste your copied API key
- Click verify to test connection
How to Use
- Start a new chat
- Click model selector
- Choose either GPT-3.5 or GPT-4o
- Begin chatting as you would with regular ChatGPT
Note: Keep your API key secure and never share it publicly. API usage will incur charges based on your OpenAI account’s pricing plan.
Next Steps
Continue on to our next lesson on how to use Open WebUI community tools.