Common Custom AI Model Use Cases
1. Specialized Knowledge Integration
- Company-specific documentation
- Niche topic expertise
- Technical documentation
- Client reports
- Lease agreements
- Internal policies
2. Conversation Style Customization
- Control response length
- Modify communication style
- Adjust formatting preferences
- Personalize interaction patterns
How to Create Custom AI Models in Open WebUI
Access Model Creation
- Navigate to Workspace
- Select “Create Model”
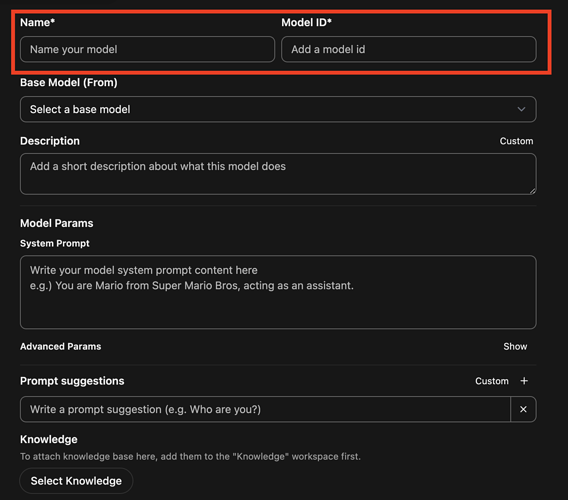
1. Name your model
This is the name that will show up in the model dropdown when you start a new chat.
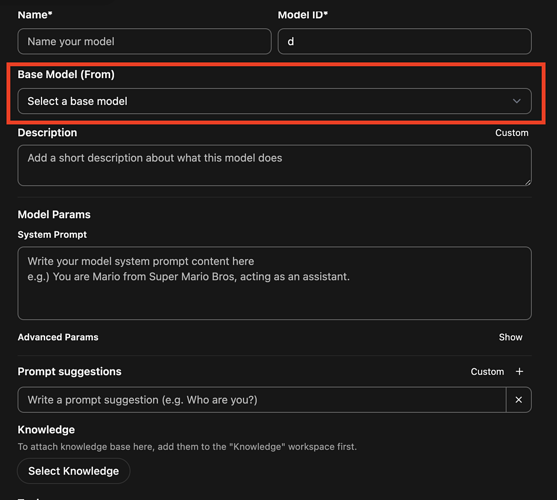
2. Select the base model
This is the underlying AI model that you will use to drive your custom model.
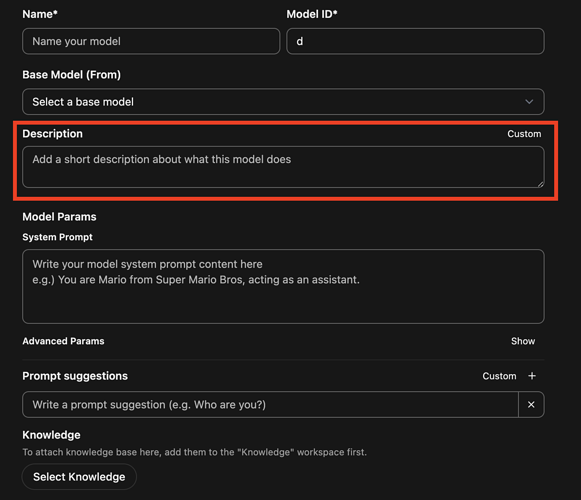
3. Describe your model
This is for your future reference only.
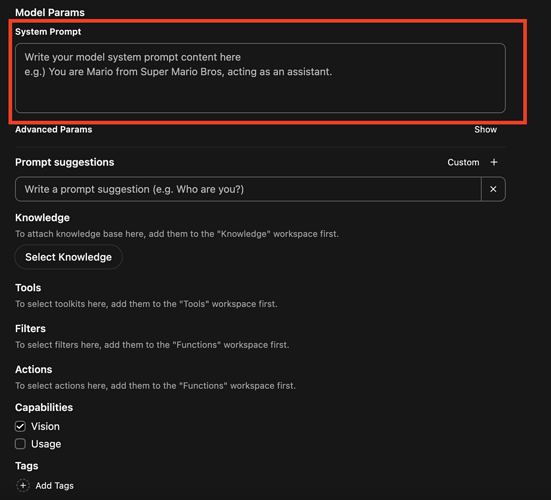
4. Provide a system prompt
A system prompt is a set of instructions that defines how an AI model should behave, respond, and interact throughout a conversation. Think of it as the AI’s personality blueprint or operating manual that runs in the background of every interaction.
Another way to think about a system prompt is simply a prompt that the model will always use along with any other prompts you provide it.
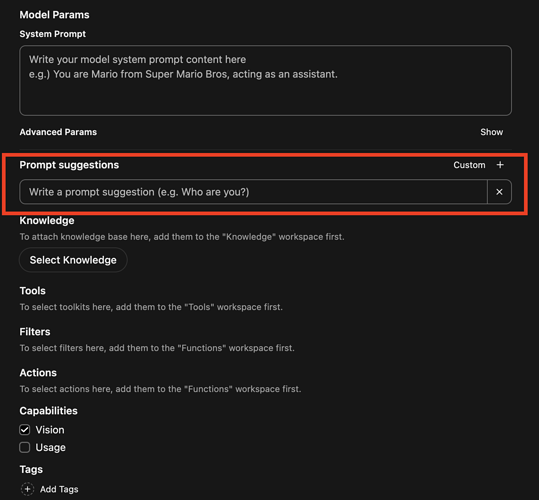
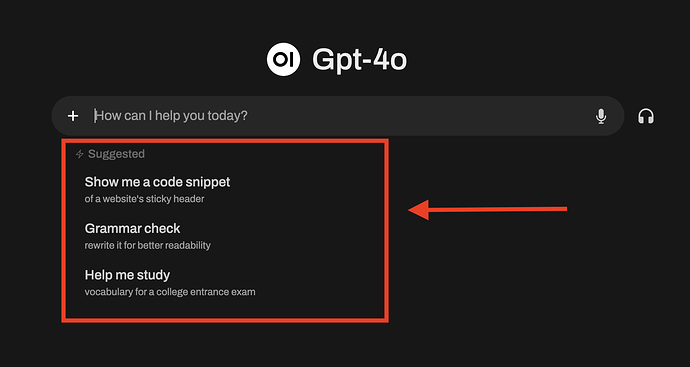
5. Provide Prompt Suggestions
These are the suggestions that show up on the chat page when selecting your custom model.
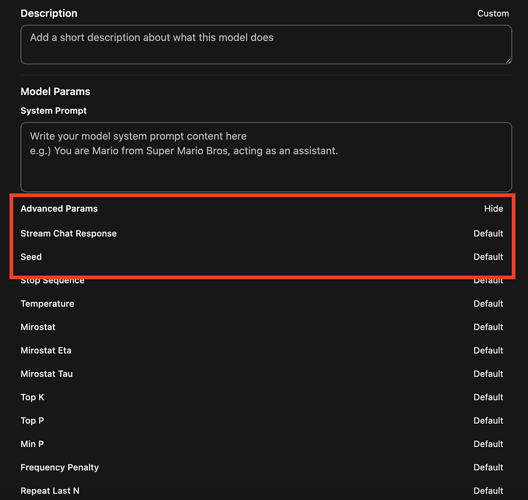
6. Advanced Parameters
This is where you can set a wide variety of custom variables such as how creative you want the model to be, how many times users are allowed to query the model and many other variables.
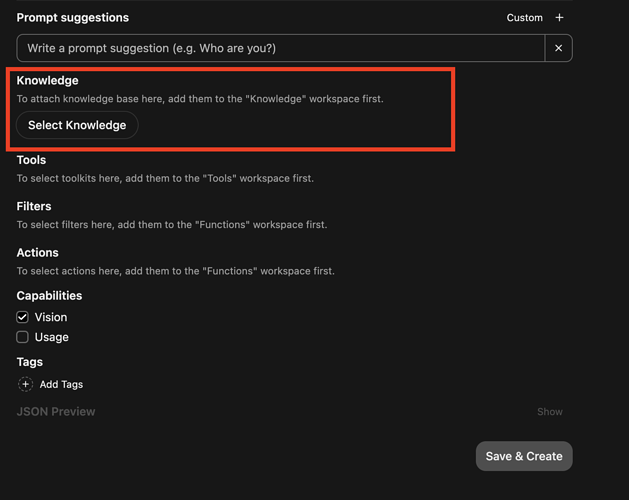
7. Custom Knowledge
This is where you can provide your custom model with any documents you want it to reference when providing responses.
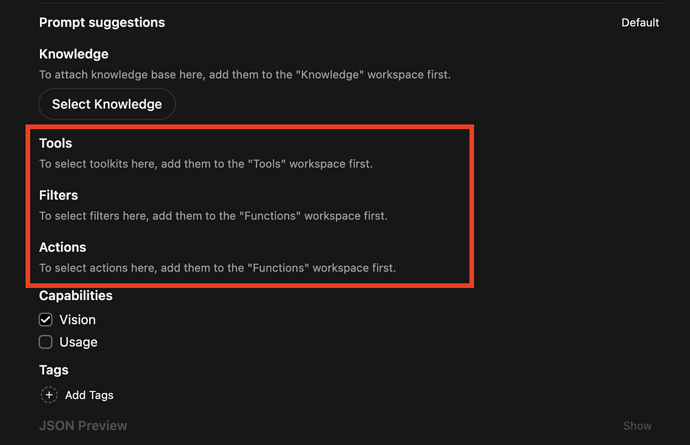
8. Tags, Filters, and Actions
Add any custom tools, filters, and actions that you have created or added to your Open WebUI from the Open WebUI community.
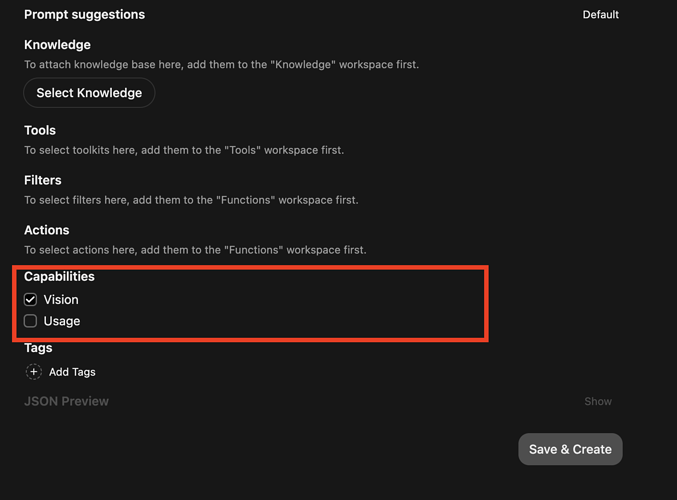
9. Multi Model Capabilities
Define what if any multi-modal capabilities you want to provide your custom model.
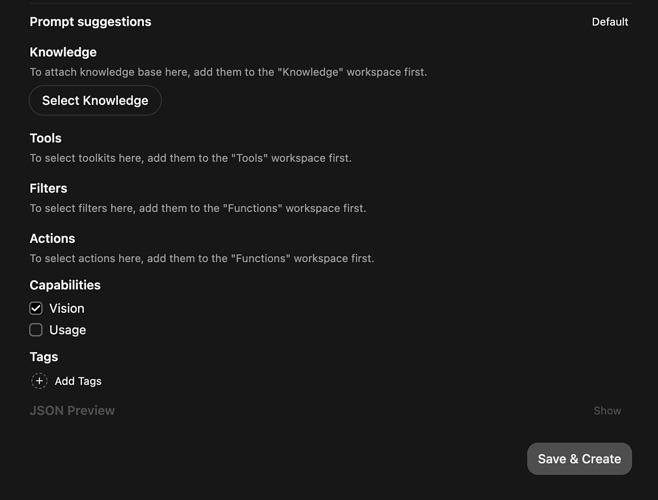
10. Tags
Add tags to group similar custom models together.
